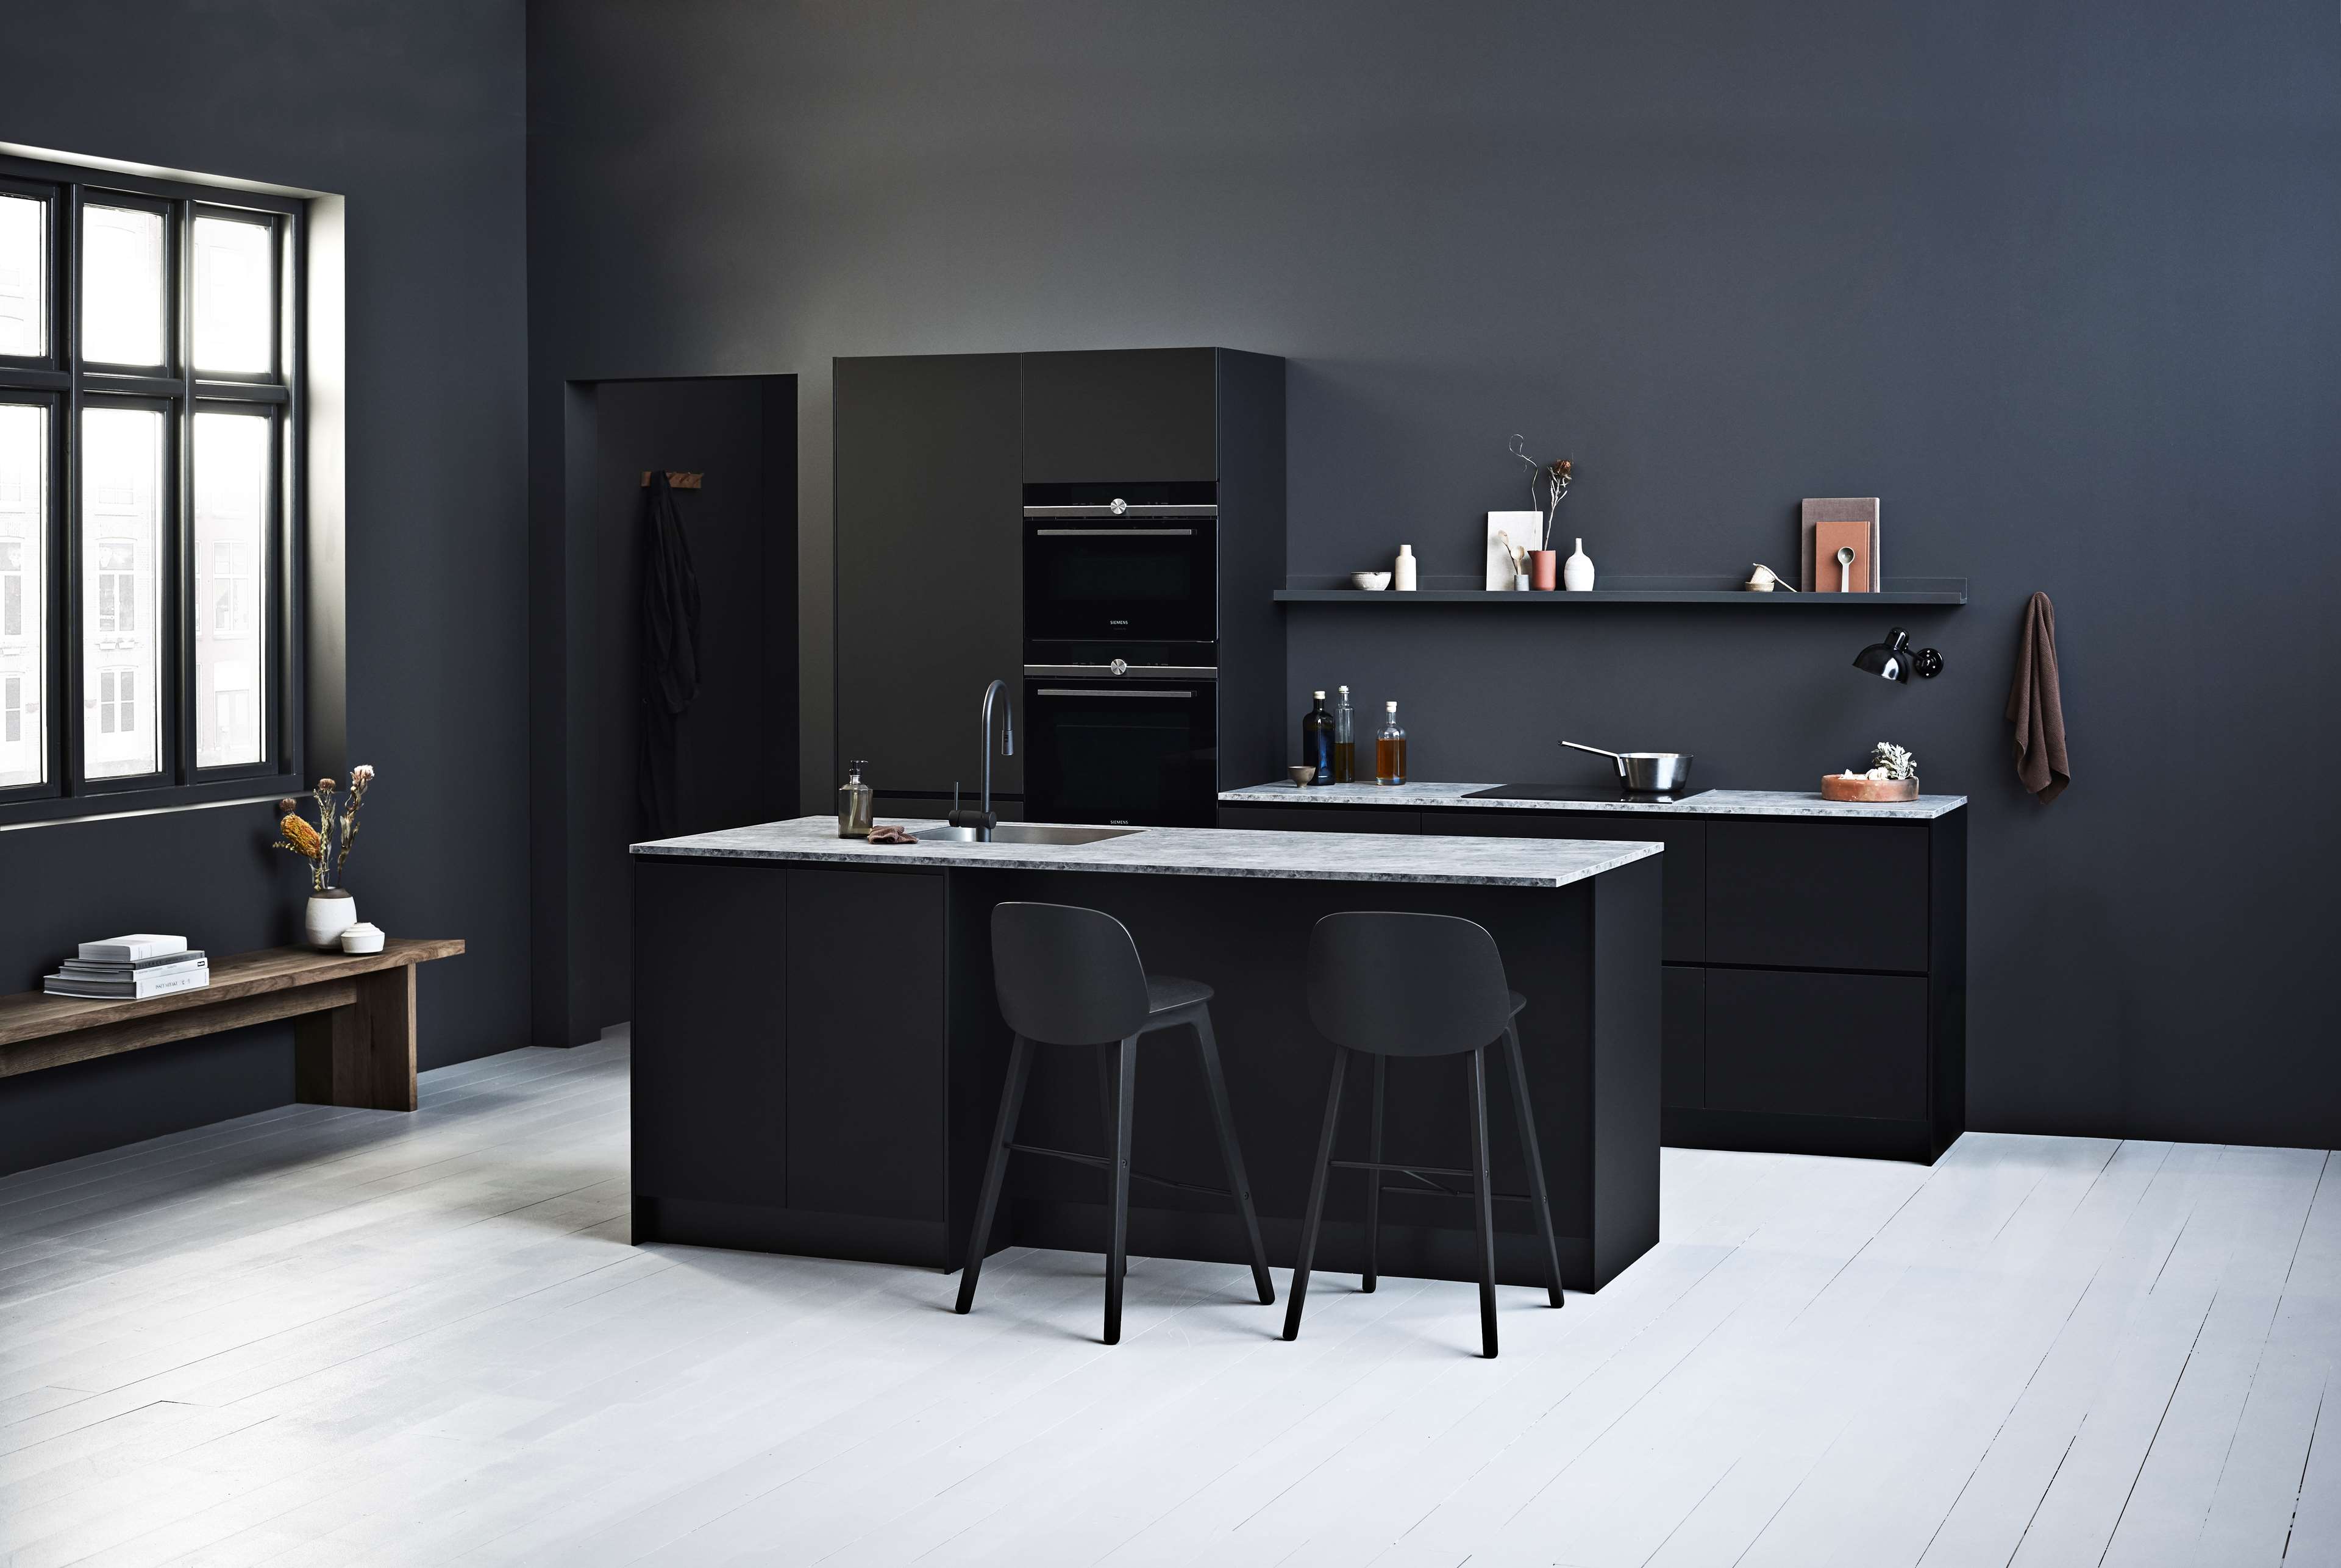
PRATO black
123 456,-
How to be serious about "Do It Yourself"
Talk talk serious DIY with your showroom consultant
We know the great feeling of looking a stunning new Danish kitchen thinking "I did that".
But we fear the feeling of looking at a poorly assembled and hastily installed kitchen, no lines are flush, no angles are right because of over estimated skills level and inadequate tools. No Danish design will ever make up for that - and "I did that" is a life sentence.
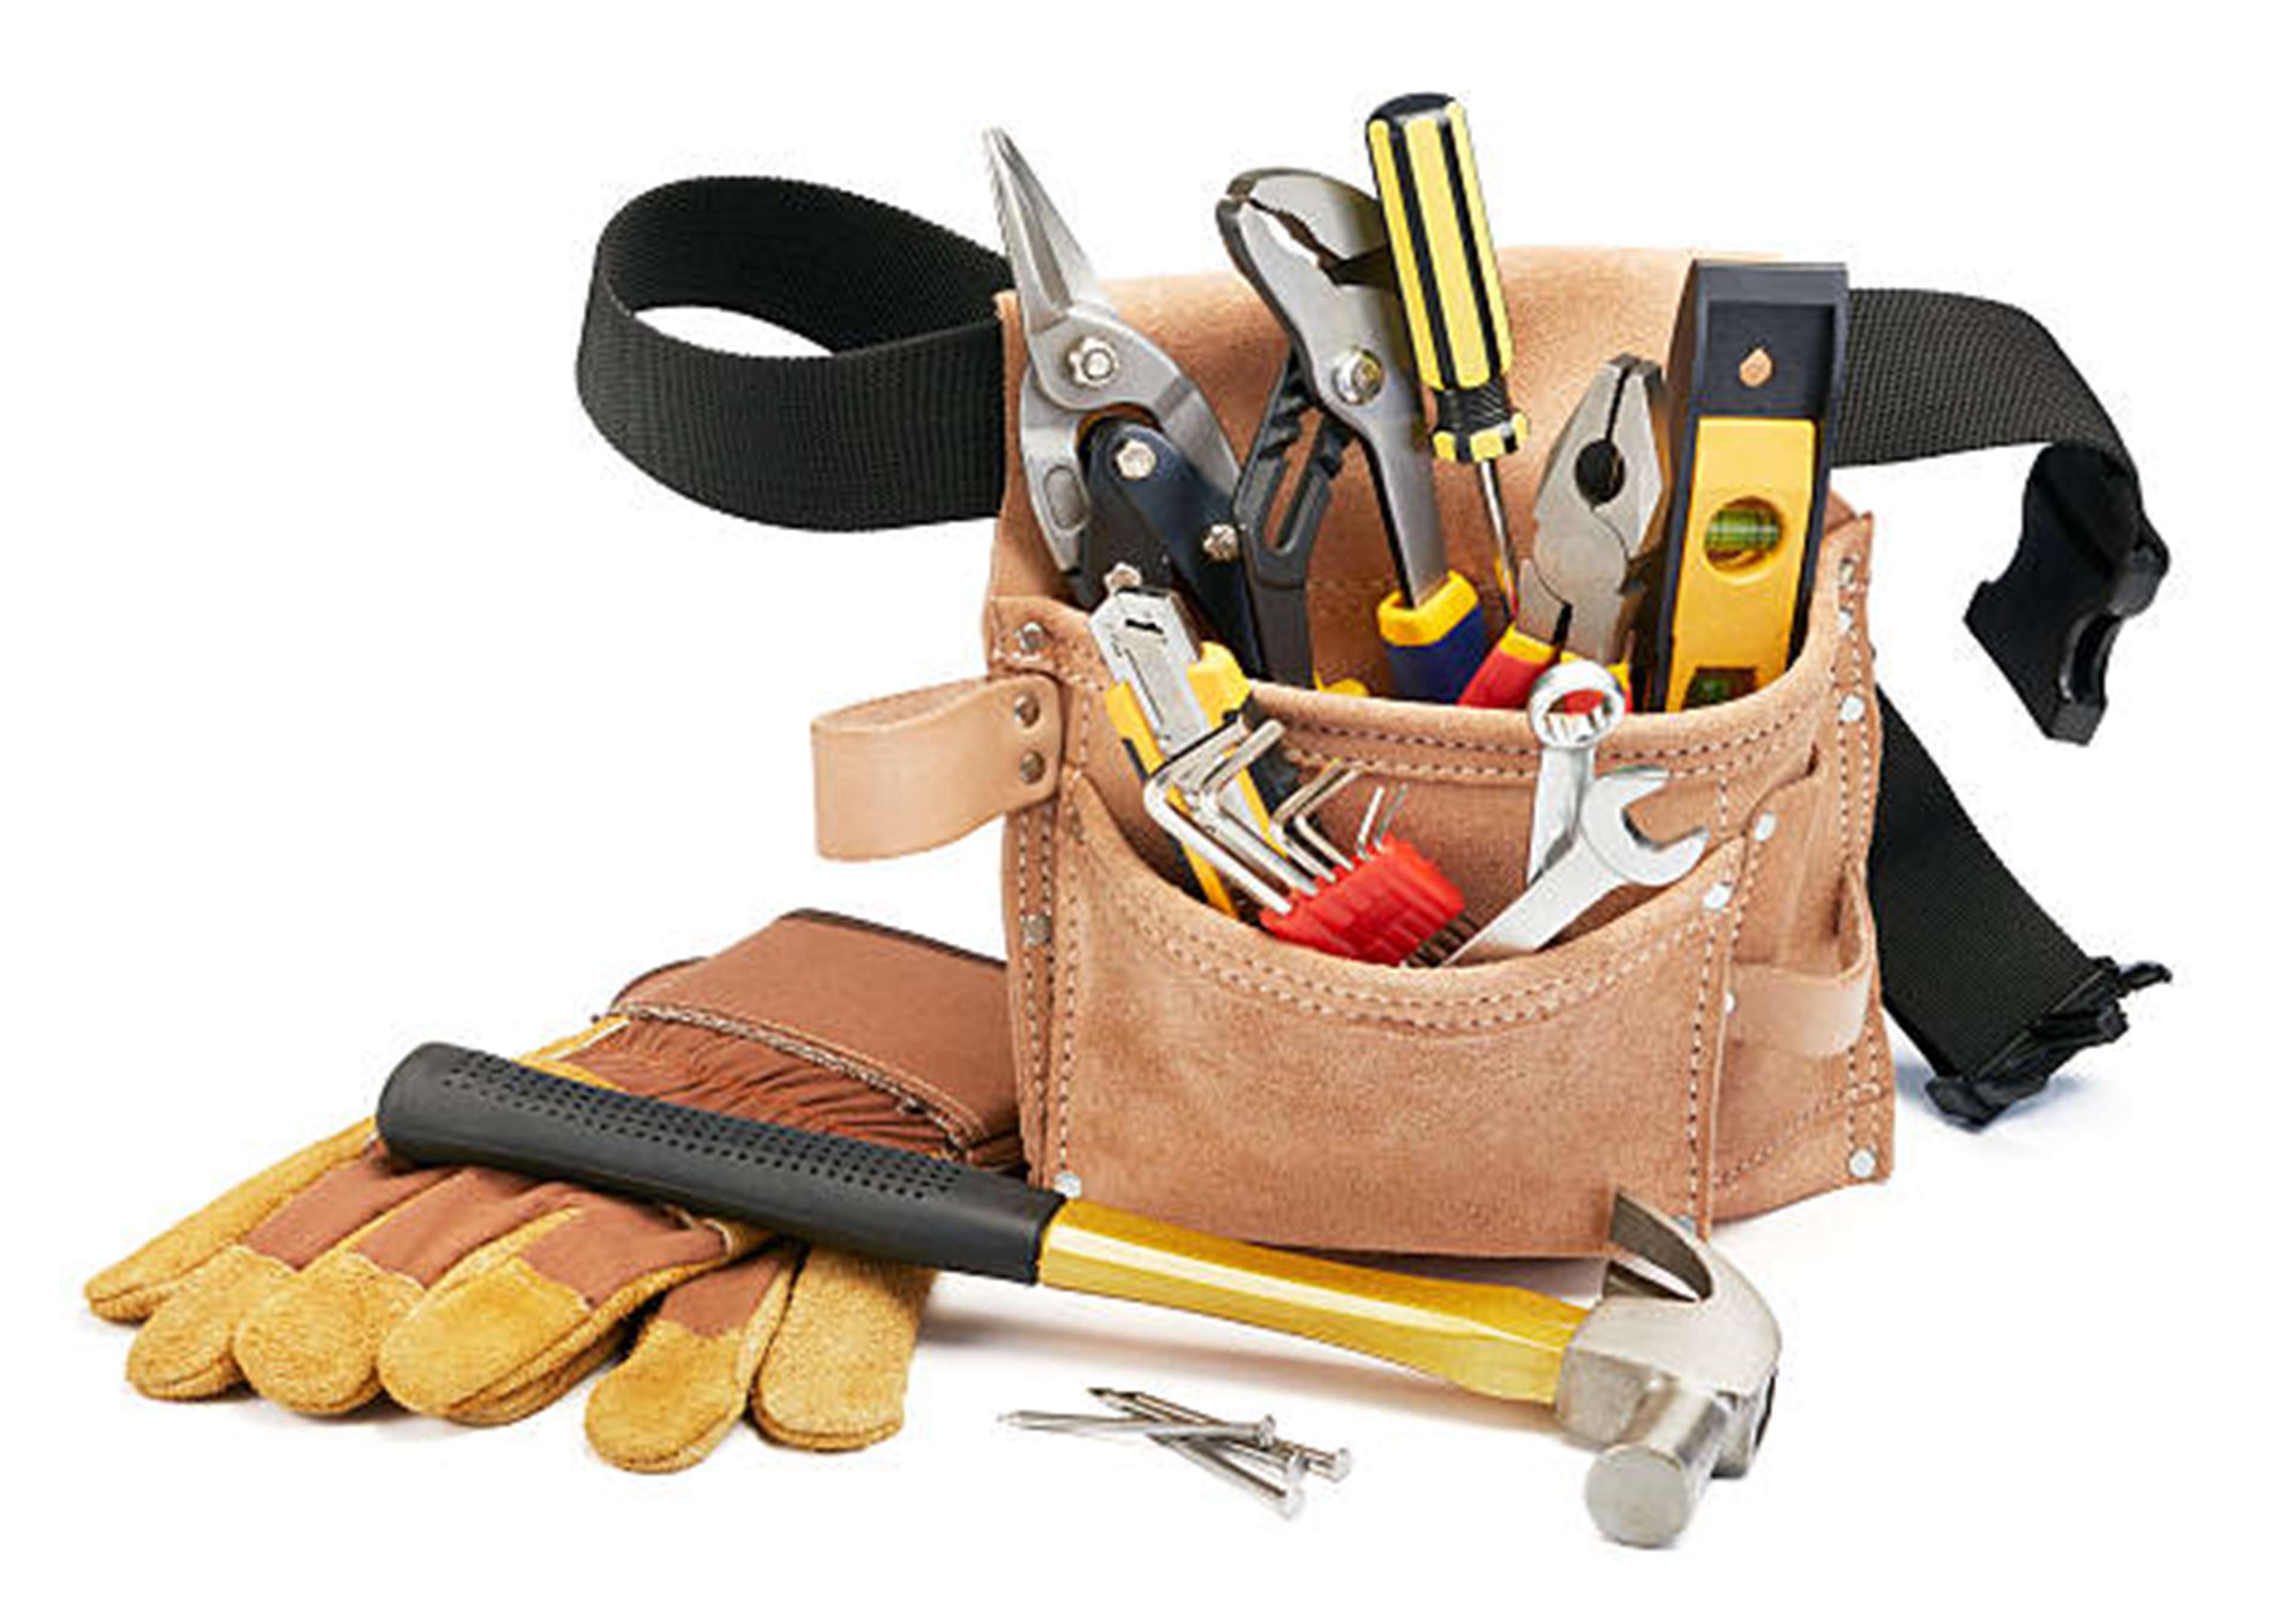
Check your skills and tools level
You need real skills - but you don't need to be a qualified carpenter. The tools required vary from project to project - but an Allen wrench and a screwdriver is never enough. The tools our installation staff uses are common to many hobbyists - but you need to be quite serious about how to use them safely and with precision. You also need An example is cutting holes for a handle for the font cover for a dishwasher. Most people know that can be done with and Though the required tool is as common as an electrical drill, you will also need the right drill that is also sharp - and the skill is to do it free hand while keeping the angle right in 2 dimensions.
Understand the discounts - you can choose
Ge
Understand what DIY means
A Kvik kitchen is always: Danish design + the details of a carpenters kitchen: tailormade adaptation and installation finish. But a kitchen is also always a project - like a chain it has many parts. As a whole it is like a chain
Though we are very precise about manufacturing
Normally, after the kitchen project is fully developped, we handle shipment to your addres after the basic room is ready (external plumber, elctrician, mason or the floor fitter), we assemble the kitchen parts, and we install cabinets and appliances. So there are three levels of DIY:
- Without installation
- without assembly and installation
- withour transport, assembly and installation
You are not on you own - here all our installation videos
Videos - KITCHENds
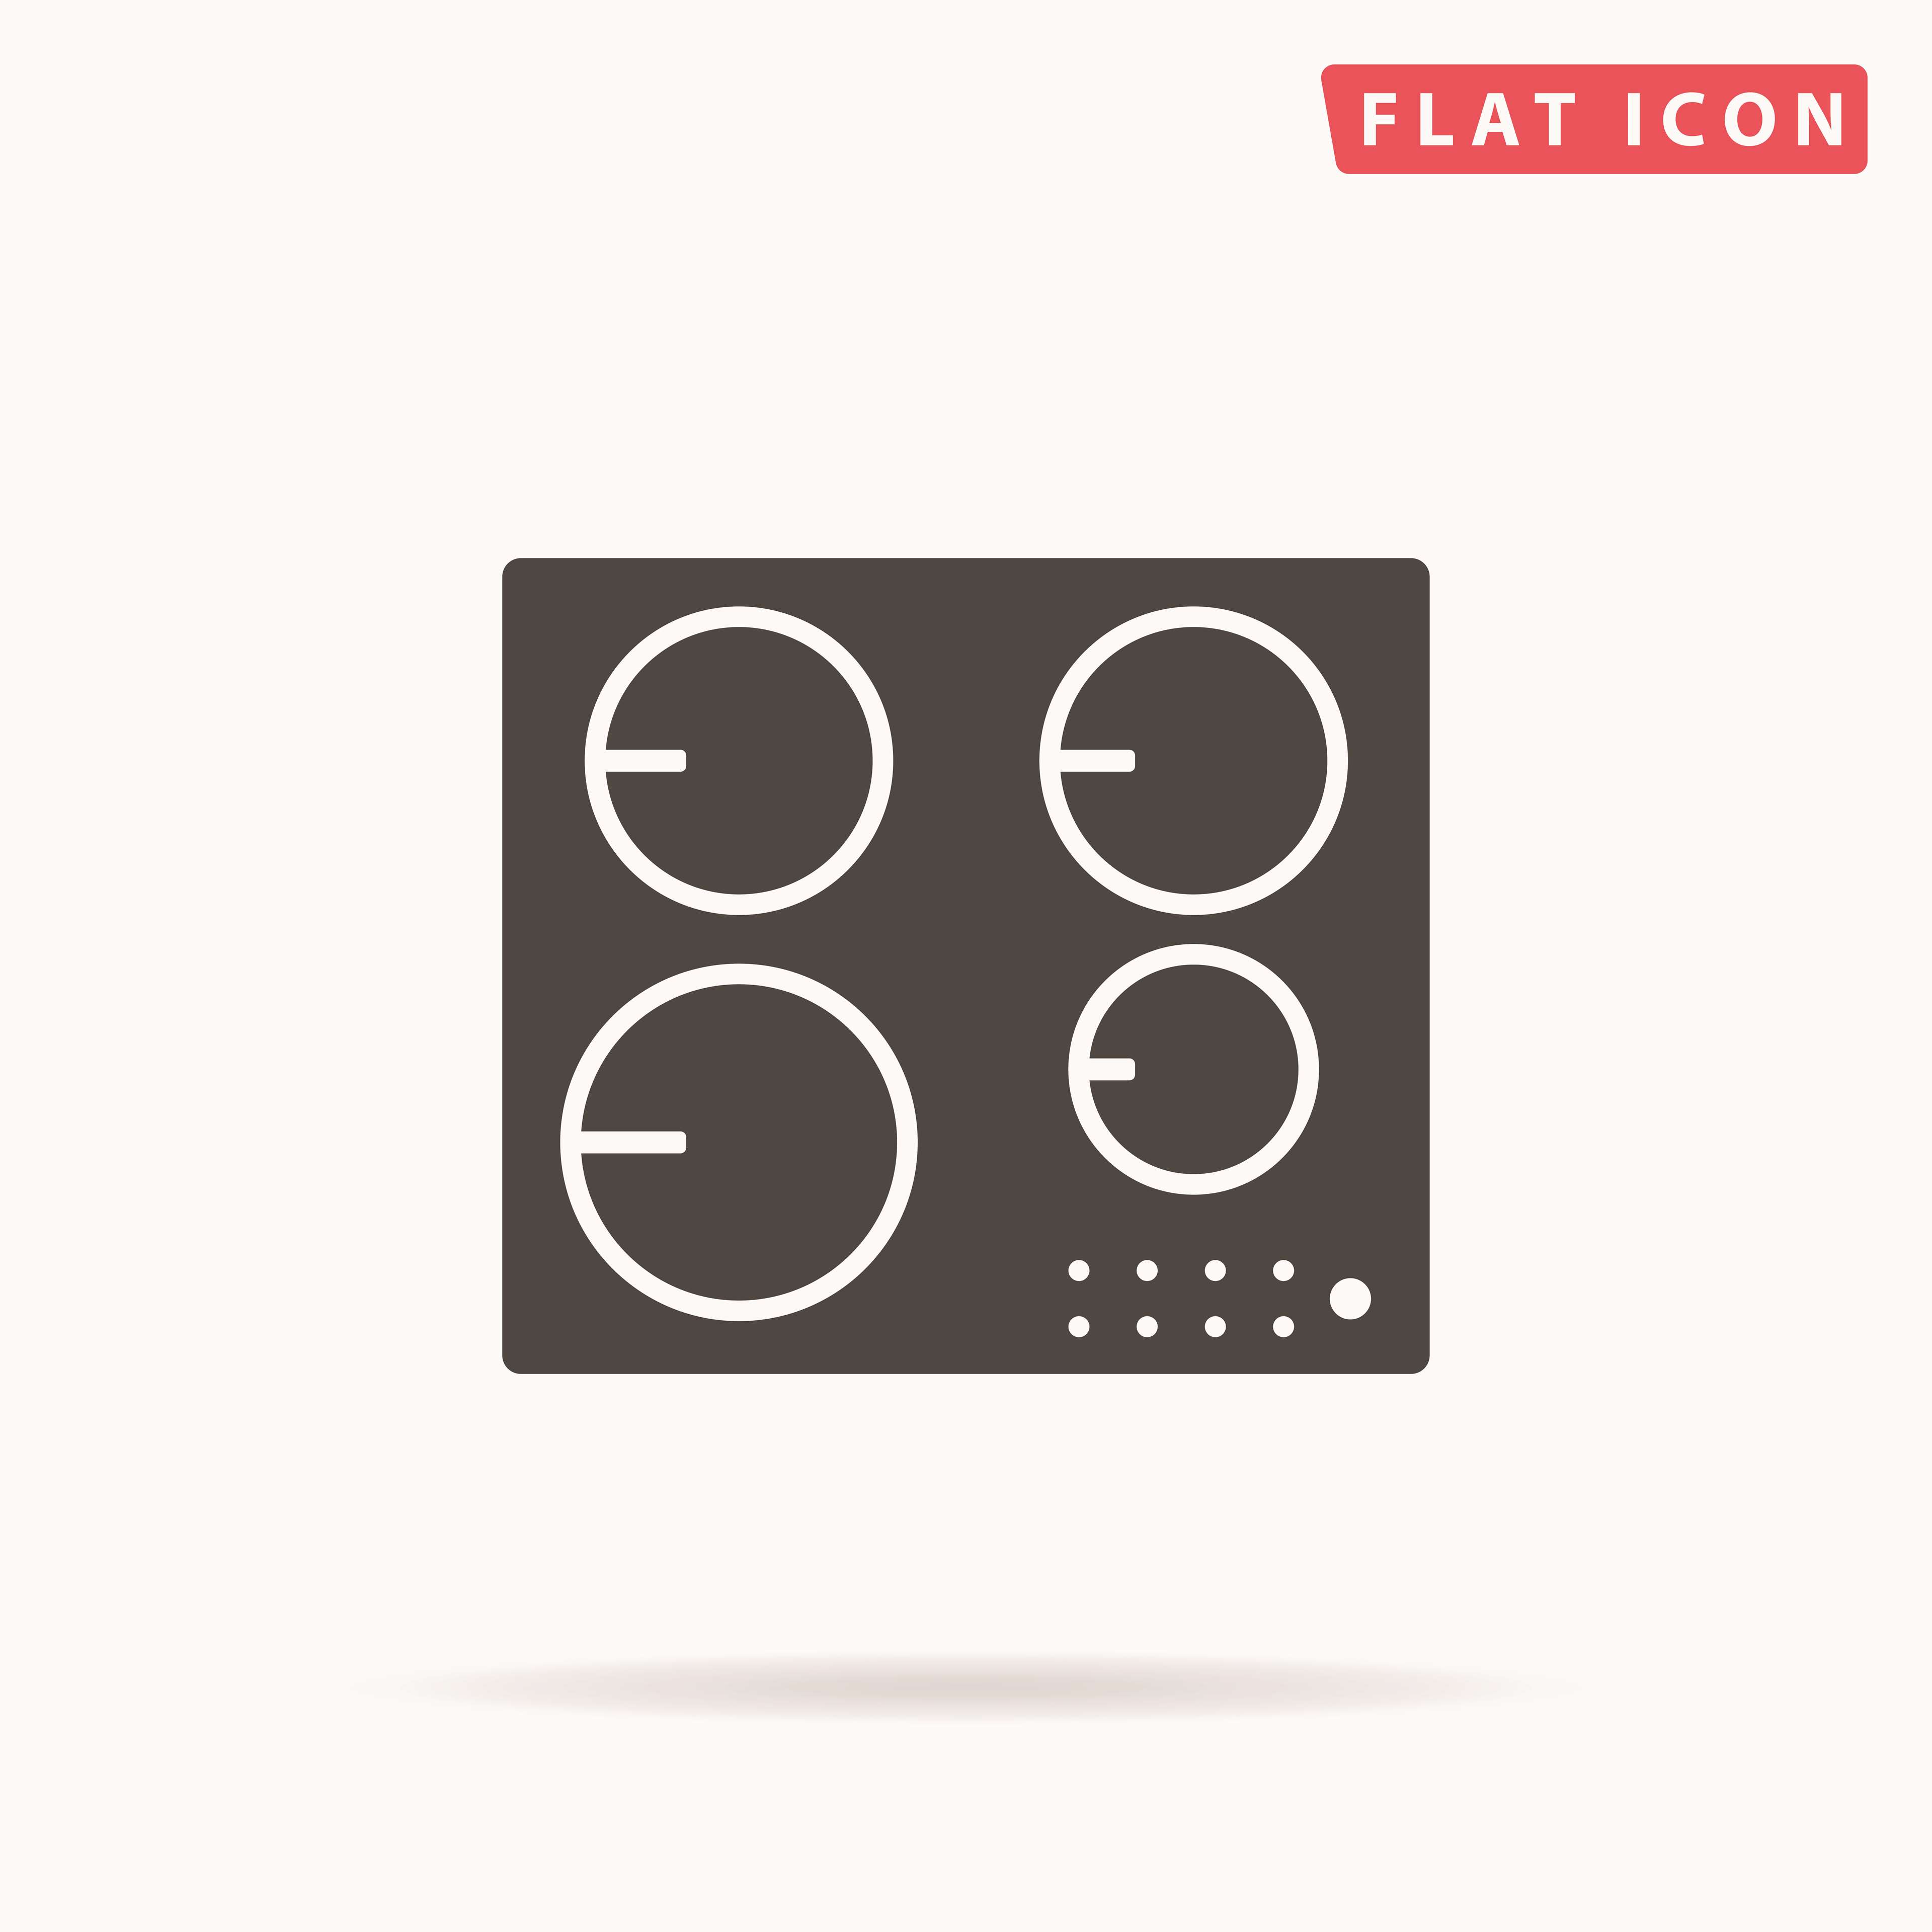
Video guide: Cooking hob (YouTubex)
- click below to see. This guides illustrates Details, tools used and time spent. It is in English with english subtitles This guides illustrates Details, tools used and time spent. It is in English with english subtitlesThis guides illustrates Details, tools used and time spent. It is in English with english subtitles


Videos BATHROOM
Bathroom furniture
Mounting new bathroom furniture - all designs - english language Mounting new bathroom furniture - all designs - english languageMounting new bathroom furniture - all designs - english languageMounting new bathroom furniture - all designs - english language Mounting new bathroom furniture - all designs - english language
Videos - WARDROBE
Simple walkthroughs - remember to first consult autherised professionals, if you need alterations of connection points.