Let´s install your new DIY bathroom cabinet, shall we?

MANO sera
12 345,-
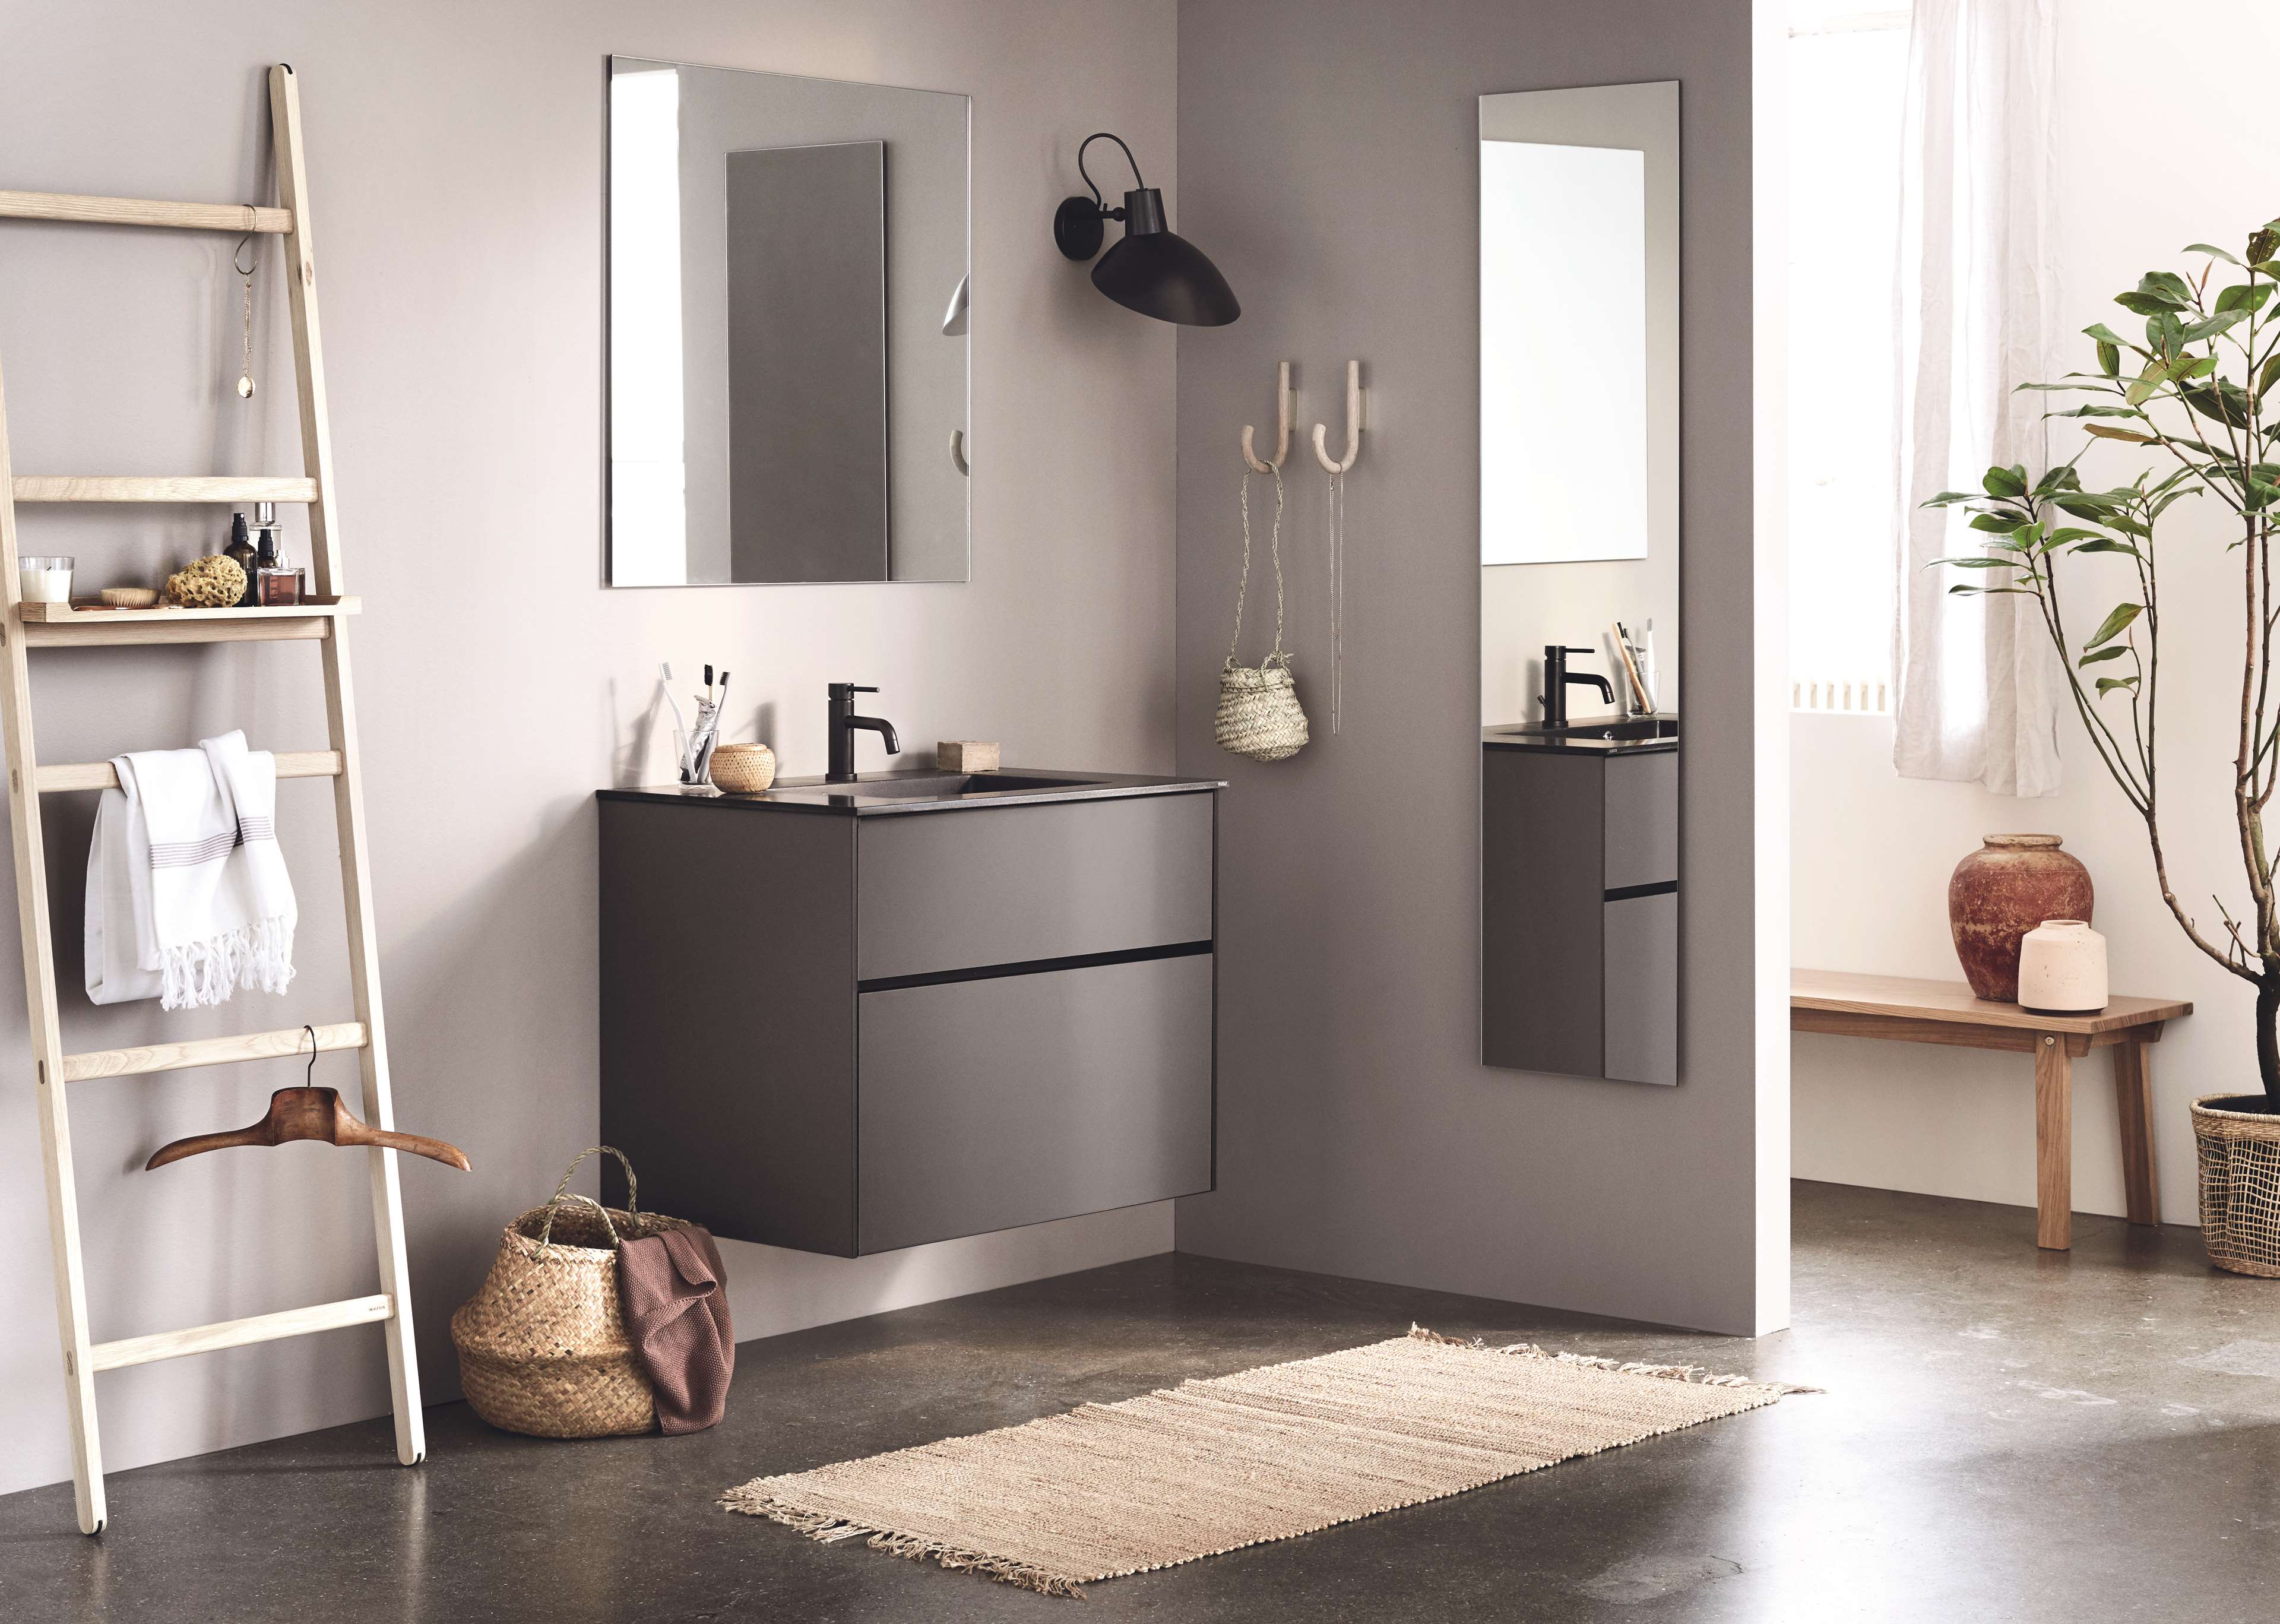
Congratulations! You've got your mind set on a bathroom cabinet, and regardless of which one of our designs is on your mind, it can really change your bathroom. It may be part of a project fully developed with your Kvik consultant – or, of course, you may have chosen to go at it all on your own. Either way, let's take a walk through the main preparations and considerations for a DIY bathroom cabinet.
Do the groundwork
Has the plumber finished their part? And are the floors and walls done?
In most cases plumbing fixtures are first priority, because your new bathroom cabinet will be placed over them. These can, of course, be relocated if needed. But it will require an authorised plumber, and perhaps a builder to do so. Your local Kvik consultant can give you advice on placement and also, how to avoid moving these plumbing fixtures if it's a headache.
And the electrician?
Same thing goes for the power connection points to, for instance, a backlit mirror or wall plugs for appliances placed inside a cabinet. The most convenient thing to do is reuse existing wiring - either way, all alterations need to done before mounting.
Installing cabinets
Watch our handy Video
If you click on this image, a video guide will show you a walkthrough of the installation process. Since it is a general video for all our bathroom cabinets, it may not answer all your questions.
Read the installation instructions
There are print outs with installation instructions in the delivery box your cabinet came with. If not, you can find assembly guides here - you will need your item number (found on the invoice).
Your Kvik Consultant
If you are in doubt in any way, feel free to contact your local Kvik store - preferably the consultant who helped you buy your cabinet.